November: Rony – Golden Snitch Truffles

With a simple Revelio charm, I uncovered this “month’s” recipe: A (chocolate) Golden Snitch. A common treat sold in most concession stands of the Quidditch World Cup. If you want to make your own, you can find the muggle recipe here.

This one also included a message from 2016 Noga about the ability to find some ingredients in Israel. Little did she know that I would travel through time and space with this recipe (with a plane and by just waiting for the years to pass) to where it won’t be an issue.

The body

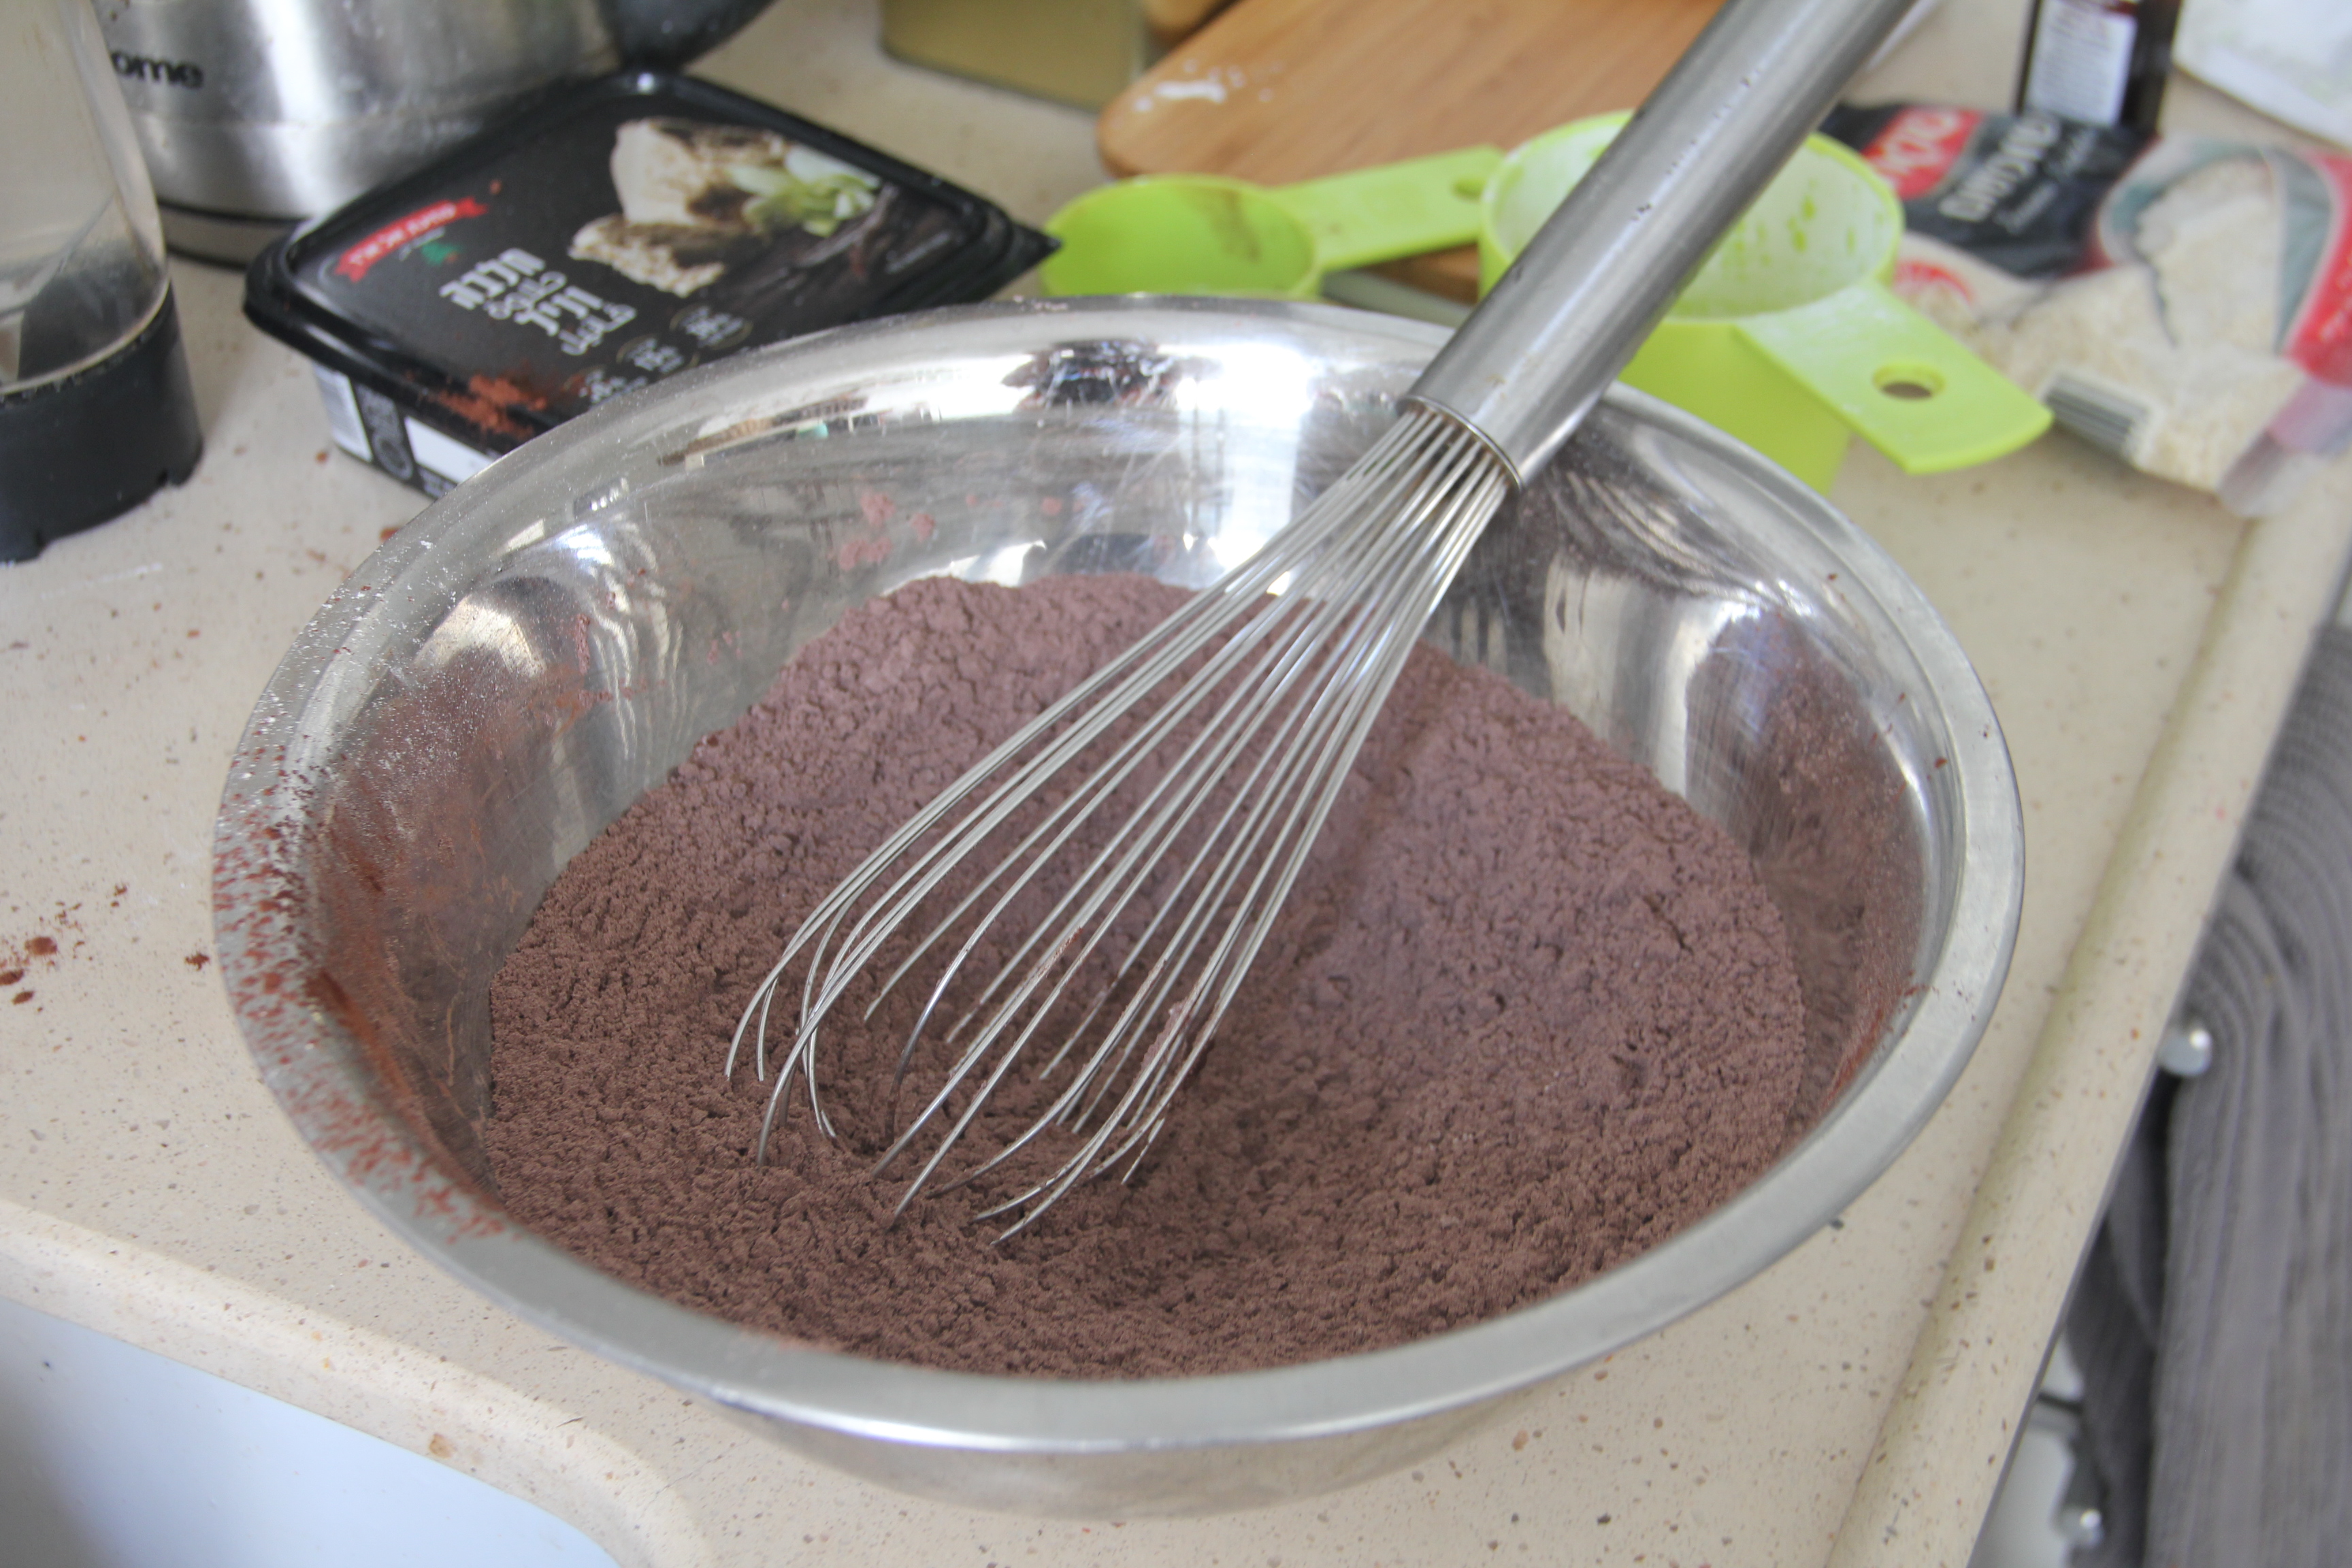
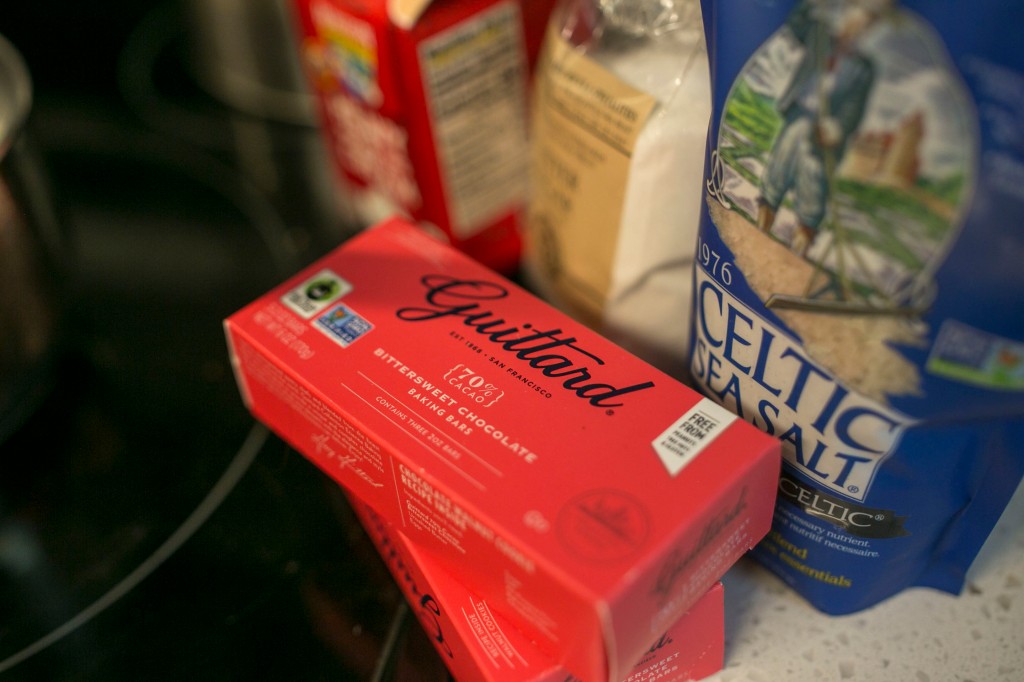
One thing I did wrong off the bat was use all the chocolate listed in the recipe in making the truffles when I was only supposed to use the semisweet. Oops.

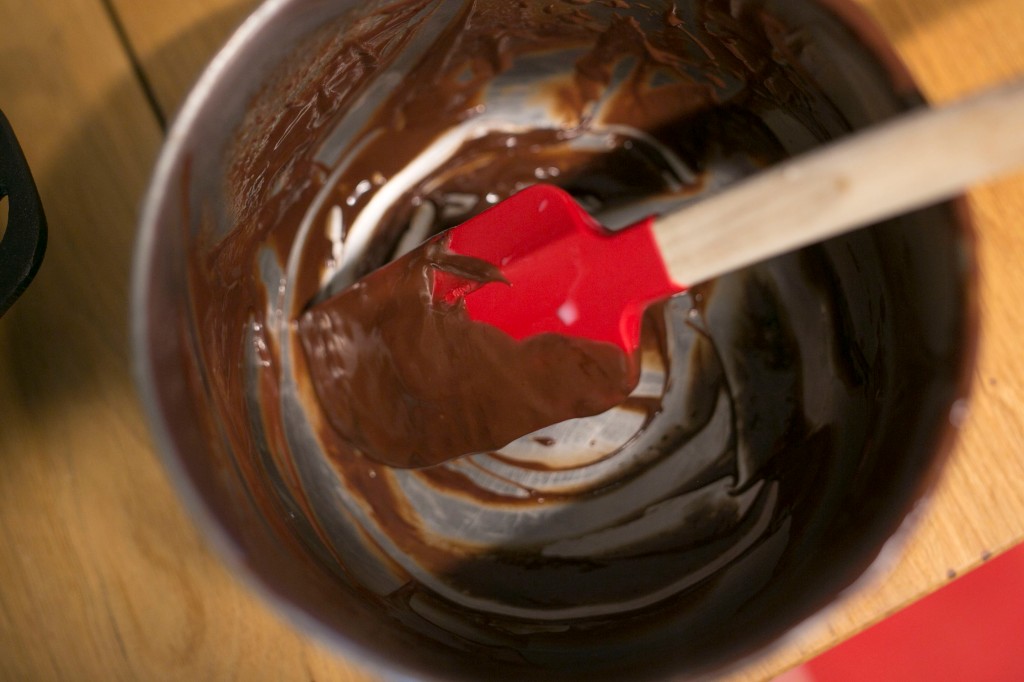
Be careful with the Incendio spell when you melt the chocolate. 30 second hear, mix, repeat until melted is a safer way to go so you don’t burn the chocolate.

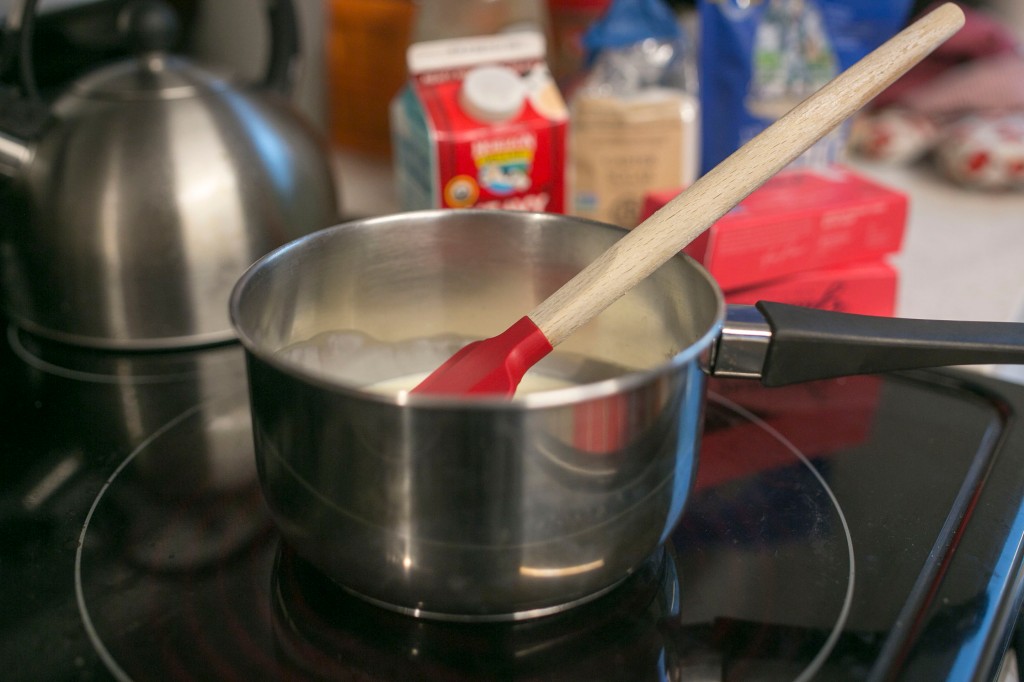
The second part of the truffle mixture is another chance to flavor. The original recipe calls for alcohol or vanilla extract mixed with heavy cream. I chose a more wizardry (or available) option and added a healthy dash of pumpkin spice, vanilla extract, and a pinch of grounded coffee (is it possible I made a pumpkin-spice latter truffle? Perhaps). Mobililact until you get nice stiff peaks.

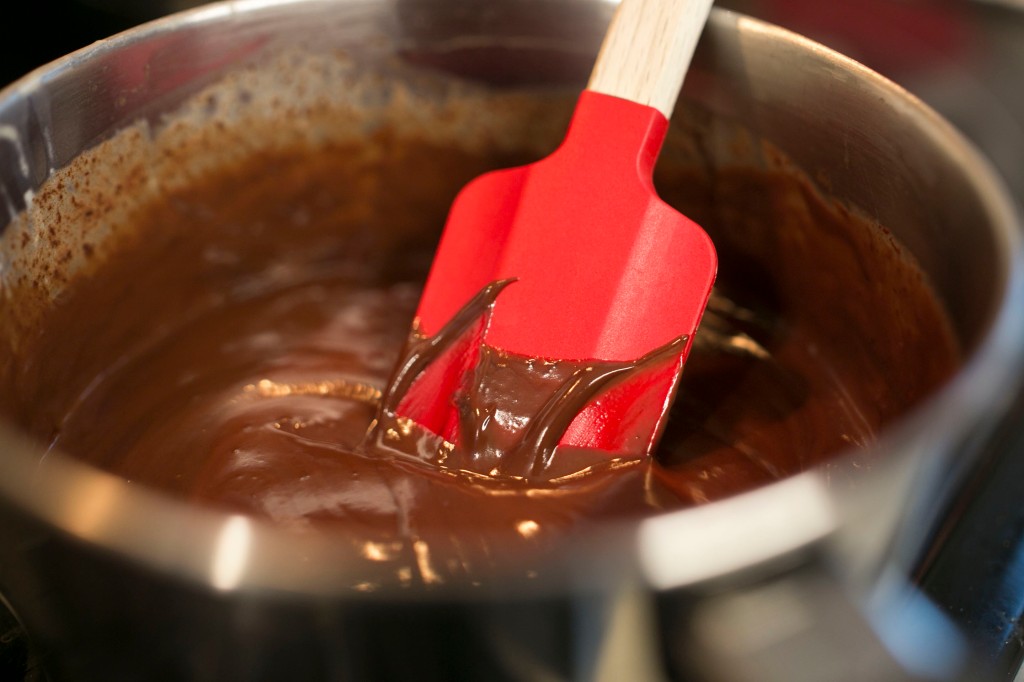
And after the chocolate has cooled, add it to the fun. I wonder what would it have looked like if I used less chocolate (or- the actual amount the recipe called for) but at this point in time that mixture tastes amazing and, in my opinion, better than the final product. I might try this again as a mouse in the future .

But enough reminiscing on mouses of recipes past, it’s time to let it cool (in a fridge or with Glacius based on where you stand in the muggle-wizard spectrum).

Let us remember, once more, that I added too much chocolate to the truffle mixture. That’s maybe why they were too hard to handle after being in the freezer, or maybe the fridge is just a better option.

Rolling the balls was a mess and I couldn’t find a way to not be covered in chocolate by the end of it. I let the balls cool in the freezer, before rolling them again to smooth them out.

The Wings

After I melted more chocolate, I used a glass to hold my piping bag as I poured it in, and surprisingly it didn’t go all over the place.

I think the two most important things I’ve learned from wings piping are:

  1. I don’t have the space for all the wings that the recipe called for. It’s a crazy amount of wings.
  2. I should have tried to make them more symmetrical. Or at least the same type of shape instead of a variety. You will lose some wings when you assemble. You don’t want to toss a wing just because its partner broke and it was a unique pair.

After the wings had enough time to freeze and harden, I tried several “gilding” options:

  • Colovaria, of course
  • Edible golden spray – sprayed on the bottom before piping
  • Edible golden powder – which provided the most coverage
  • And a mix fo powder and spray – had meh results but better than just spray. I can’t say the spray was useful besides spraying on the piping surface (that way the bottom side picks up that color as well).

For the truffles themselves, I placed them in a measuring tablespoon, that held them in place and allowed them to be moved about without melting, as I powdered them.

Epoximise!

(or leftover melted chocolate on every wing before attaching them to the truffle).

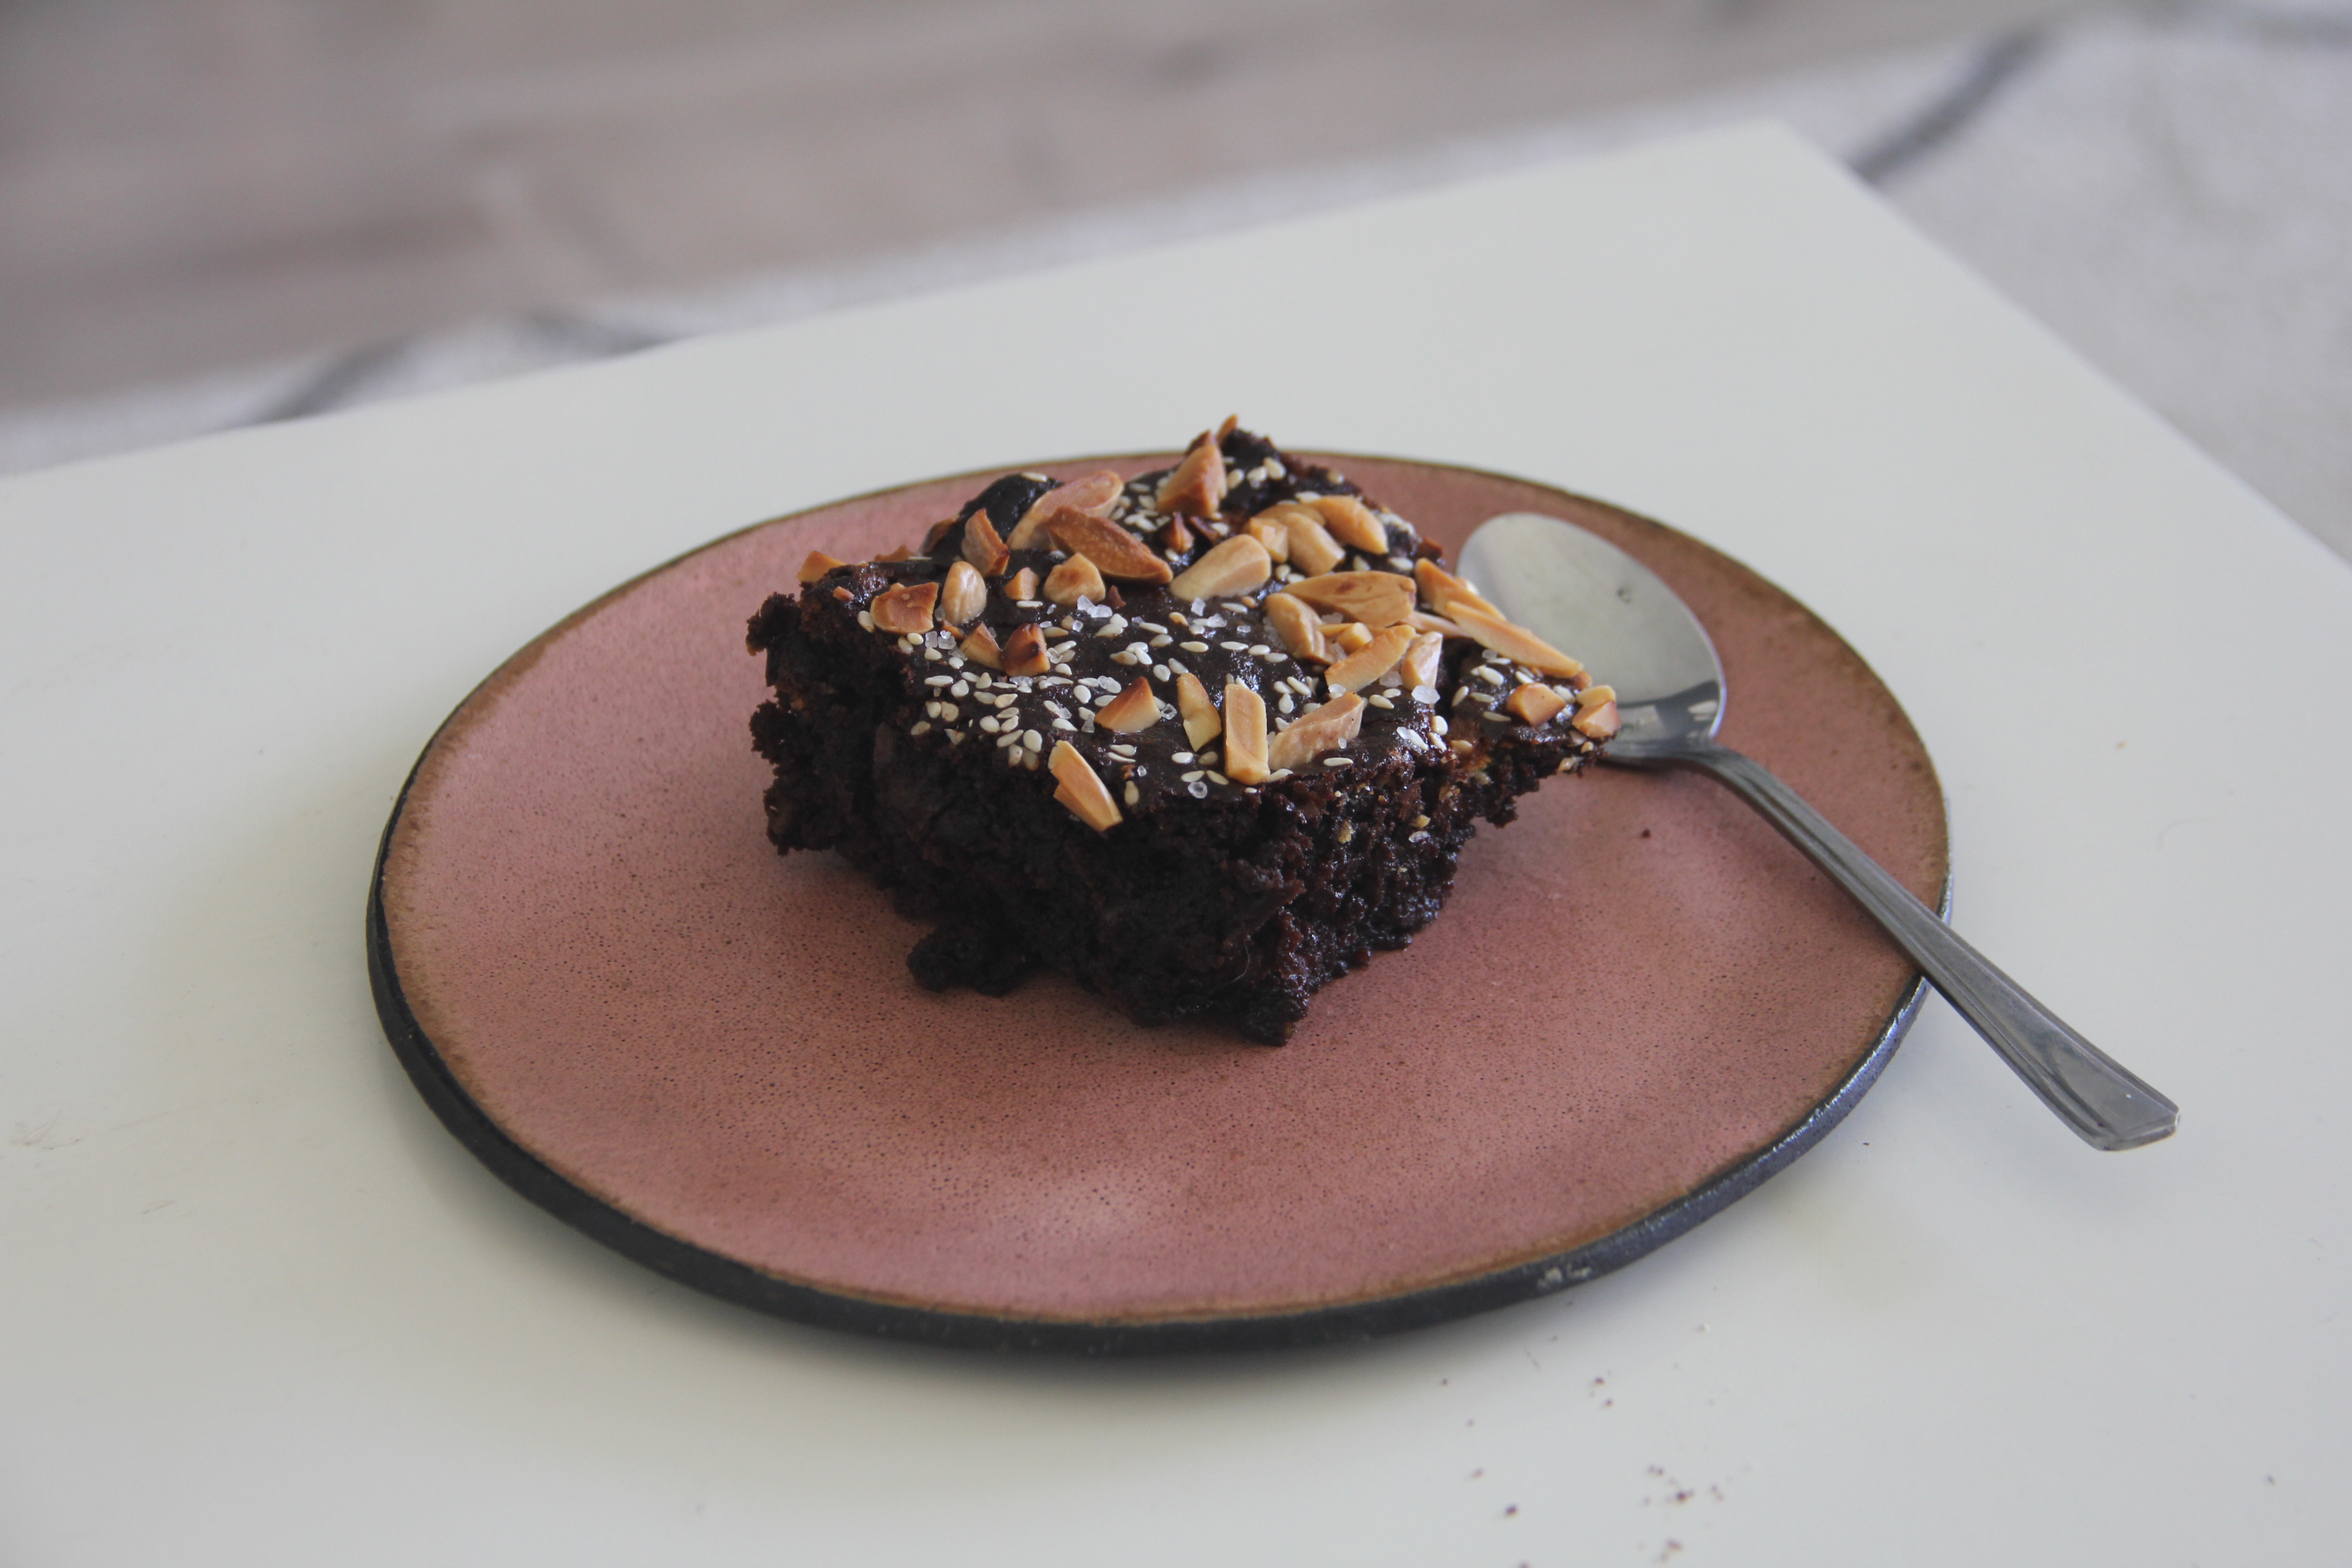
I present to you – A Golden Snitch

Open at the close

You can definitely taste the pumpkin spice and it works! There was something about the truffles that wasn’t “chocolaty” enough. I’m not sure what. The recipe itself includes a disclaimer that if you have a better recipe for truffles then use that one. However, in it’s mouse form, I would revisit that… one day…

October: Noga – VEGAN BROWNIES WITH TAHINI AND HALVAH

The second recipe comeback is, thankfully, much better that the previous disaster. This recipe was actually both super easy and super delicious, so I’m definitely saving it for future reruns.

The month theme was CHOCOLATE (YUM) because October is my birthday month and I’m obvious.

The recipe is these vegan brownies and according to Nimrod, the resident vegan, they were “The best vegan brownies he ever had“. And I have to agree. I would even say they match any non-vegan brownies for taste and texture. The ingredient list was also almost completely made up of things we already have in our kitchen. So – YAY!

You begin by placing a bunch of dates in hot water to boil them. This is something that we get to do a lot with vegan recipes, and is also very convenient as Nimrod’s family grows dates in the desert and we always have tons of them in our freezer.

IMG_2951

The recipe requires a surprisingly small amount (2/3 cup = 115 grams)

Then, you sift spelt flour (our favorite!), cocoa powder and baking powder together. I recently purchased fancy dutch cocoa which is just amazing.

IMG_2954

So far so good. Please excuse the mess

Then you really get down to business, and use a food processor to process the softened dates (I sometimes peel their skin off but I was lazy this time, it doesn’t matter), almond milk, maple syrup, sugar (I don’t bother with the ‘coconut’ part and use regular sugar), tahini, vanilla, salt and olive oil. You’re going to get a thin liquid at this point so make sure to keep the lid on the food processor shut, as I did not.

IMG_2958 (2)

I kinda balked at using both 3/4 cup of maple syrup and another 3/4 cup of sugar in this. I put in less sugar than stated. With the chocolate and the halva this is already dangerous. It didn’t come out too sweet in the end, so that’s good. Here it is after you pour it into the flour and cocoa mix.

IMG_2963

Now comes the bonus part. I got fancy vegan chocolate chips, as well as halvah made by our favorite tahini makers (we love you Al Arz!)

I love love love halvah. I was so excited about these brownies by this point.

IMG_2975

A thief caught in the act!

Here is the batter after I sprinkled sesame seeds and toasted almonds on it, before it went in the oven:

IMG_2981

And then in the oven for about 45 minutes. I didn’t understand why the recipe said a toothpick should come out clean, and why you need to “Refrigerate until cold and firm before cutting. Bring to room temperature before eating”. Cold and firm?? The whole point of brownies is to be gooey and almost but not quite batter-like in the middle. I don’t want my toothpick to come out clean! Sure, there is always the fear you will take it out when it’s still raw, but I don’t like messing up and over-baking brownies as well. Like Rony said – then it’s not brownies, it’s cake. Either way, 45 mins was exactly the right time for the perfect brownie texture.

IMG_2984.JPG

We enjoyed it thoroughly and I’m definitely going to be making this again. The only negative thing I can say is that the halvah is unnoticeable. Maybe I crumbled it too finely, and larger chunks would have survived better. Another thing to do would be to crumble some halvah on top after baking. Will definitely try next time.

IMG_2990

On to the next one!

October: Rony – Rich chocolate tart with salt flakes

October’s theme, being Noga’s birthday month, is chocolate! When I opened this recipe and saw how easy it is, I started to wonder why I give Noga such torturous recipes (the original September for her was a Smith Island Cake).

Jamie Oliver’s recipe for a chocolate tart with salt flakes benefited from the work-from-home situation: I started the shortcrust pastry (with this recipe) during lunch and let it sit until I was wrapped up for the day and ready to face it. Too bad that by that time, it has gone rock-solid, and I didn’t have the foresight to shape it into a disc before cooling it.

Dough ball with a pan on top of it

After some banging, mashing, more banging, and rolling, I finally formed the tart base that I let chill in the fridge once again.

Tart bottom not baked yet

I usually burn my pie or tart crust due to the subjective instruction of “until brown,” so this time, I followed Jamie’s times (10-15 blind bake and then an additional 15) and was satisfied.

Tart bottom
Pot
Chocolate bar
melting chocolate
Empty chocolate pan
Chocolate tart top view

The hard part was waiting for the chocolate center to cool and set. I jiggled it many times before I decided to speed up the process with a few minutes in the freezer.

Chocolate tart with salt

I love salt (probably to an unhealthy degree), and I love that you can salt this desert even more after slicing a piece. It’s not a sweet dessert (has only about 2 teaspoons of sugar), but the dark chocolate makes it so rich. My lived-out boyfriend loved it and couldn’t wait for it to set some more so he can get another piece. I wonder if adding a layer of caramel would make this a millionaire shortbread…

Chocolate tart full with salt on top
Chocolate tart slice

Next “month’s” theme is “Geek”, which would be an adventure through time to what we defined as “Geek” back in 2016. I remember which recipe I gave Noga back before the vegan twist, and it very much aligned with all things 2016. I wonder if she did the same. We’ll find out soon!