So while Noga was dealing with the challenges of agar-agar, I was tackling its non-vegan equivalent – gelatin. And boy let me tell you… it was actually pretty easy!
I prepped myself by reading David Lebovit’z tips for gelatin and watching youtube videos of people lightly powder water with gelatin. The good thing about this recipe is the small quantities. So if halfway through you’re not sure you’ve got this right, you can chuck it and start again.
You can find the recipe here!

The bad thing is that it’s time-consuming and will take about 4 hours to complete with all the waiting. The actual labor part is short but requires your attention.

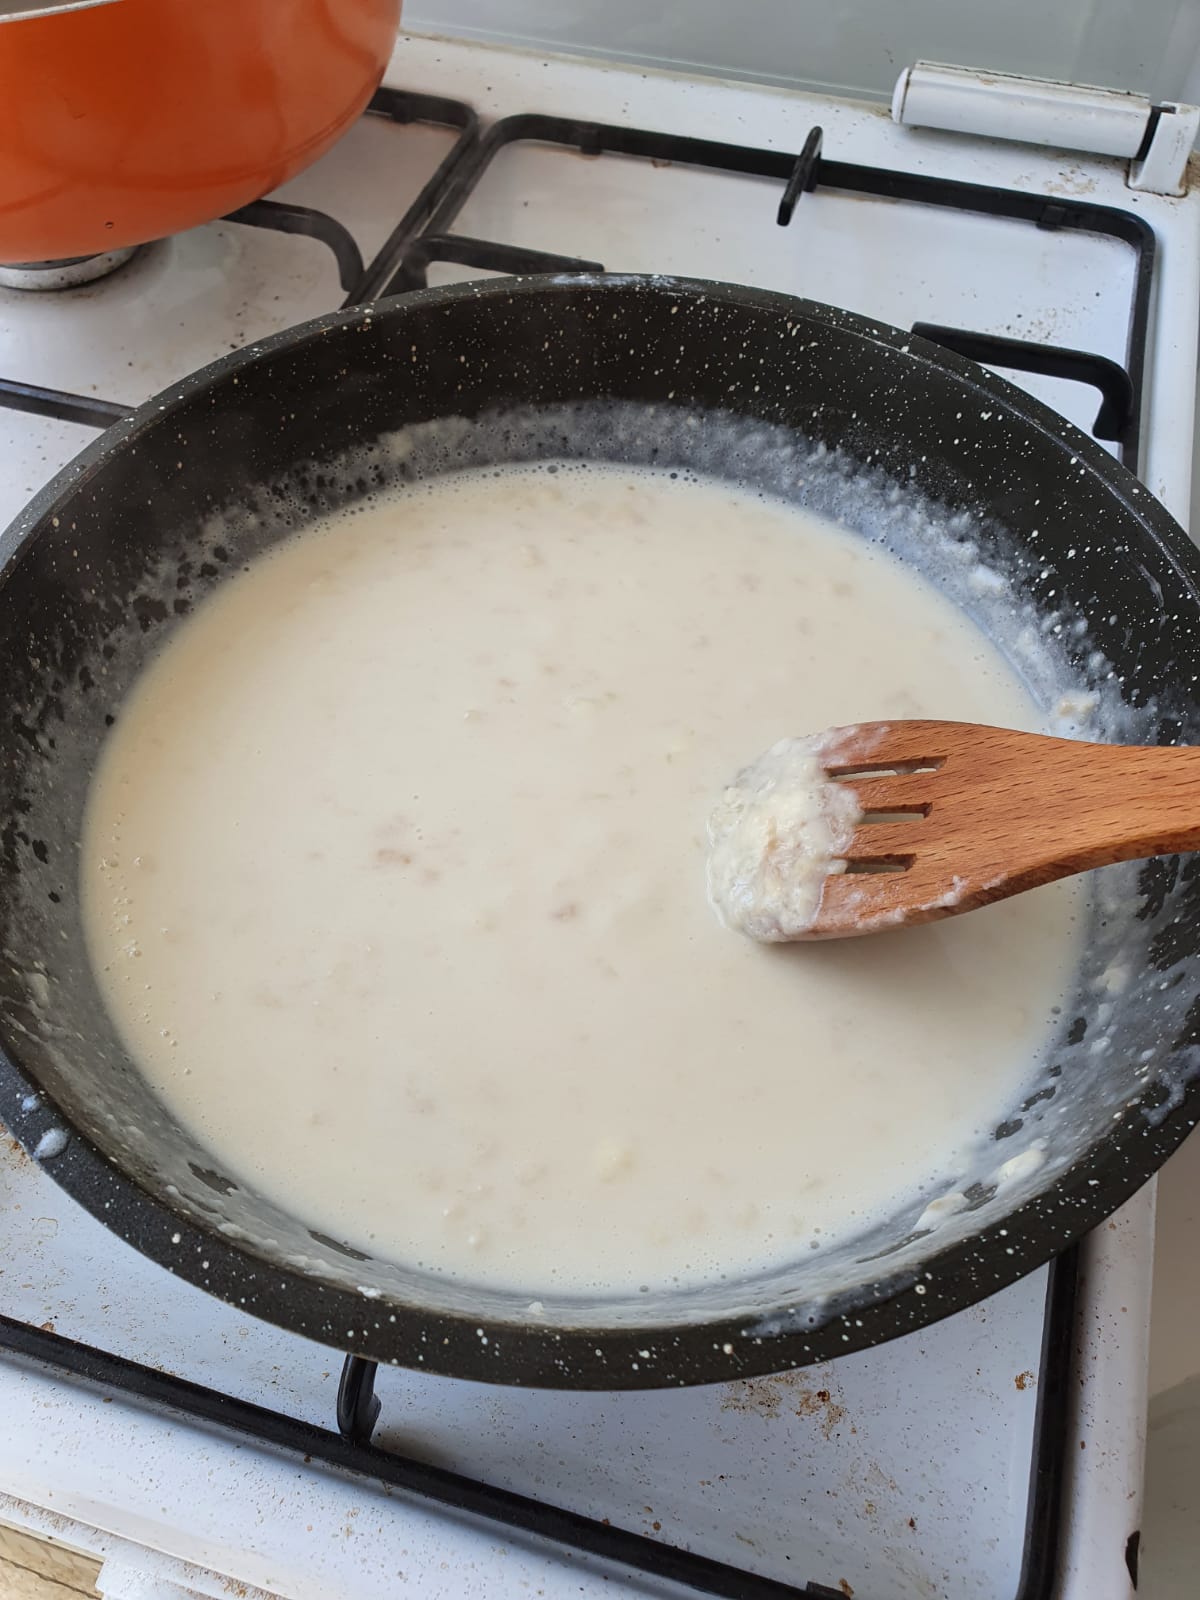
Making each panna cotta layer (there are two + one mousse) was relatively easy. If you treat gelatin with all the love and care in the world (make sure you sprinkle it above exactly one spoon of water per the recipe, let it sit, bain-marie it, tell it you love it and you’ll always be there for it, take the panna cotta mixture off the heat before mixing it in) you should be fine.

If you find yourself making this recipe while all your bowls are in the running dishwasher, you will need to be creative if you want those diagonal lines.

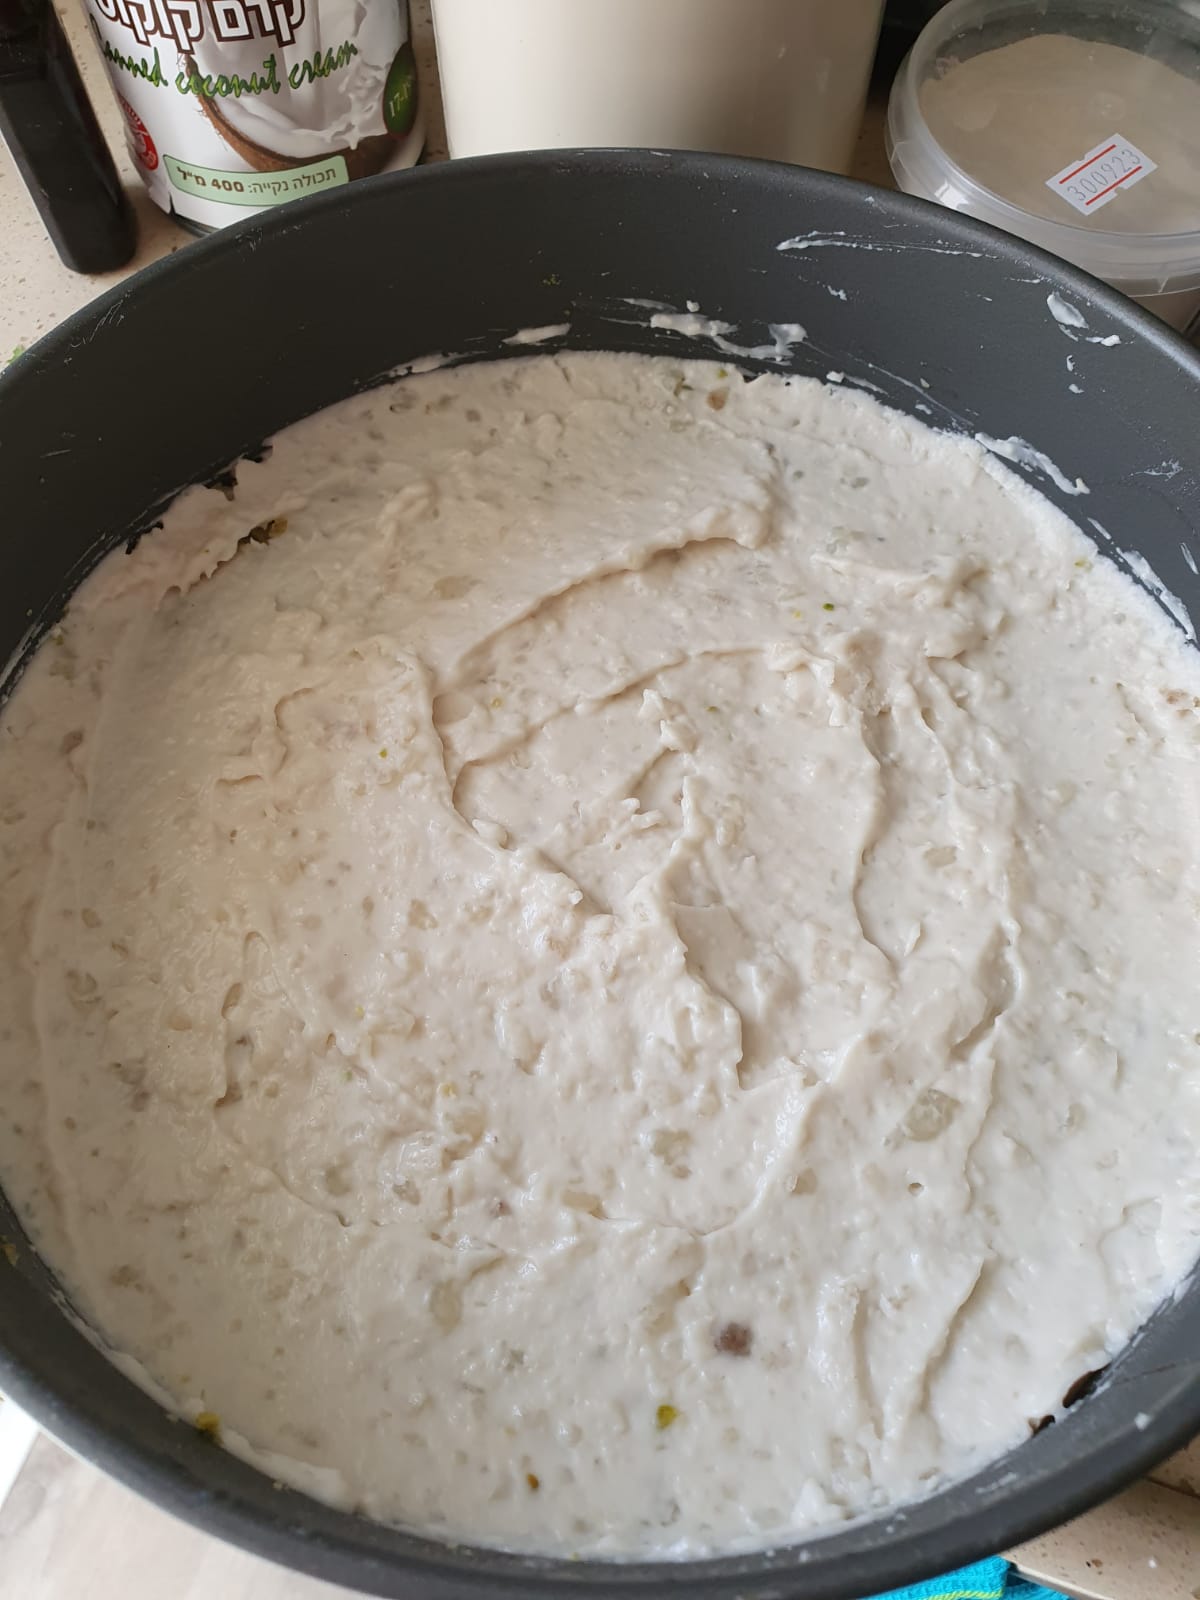
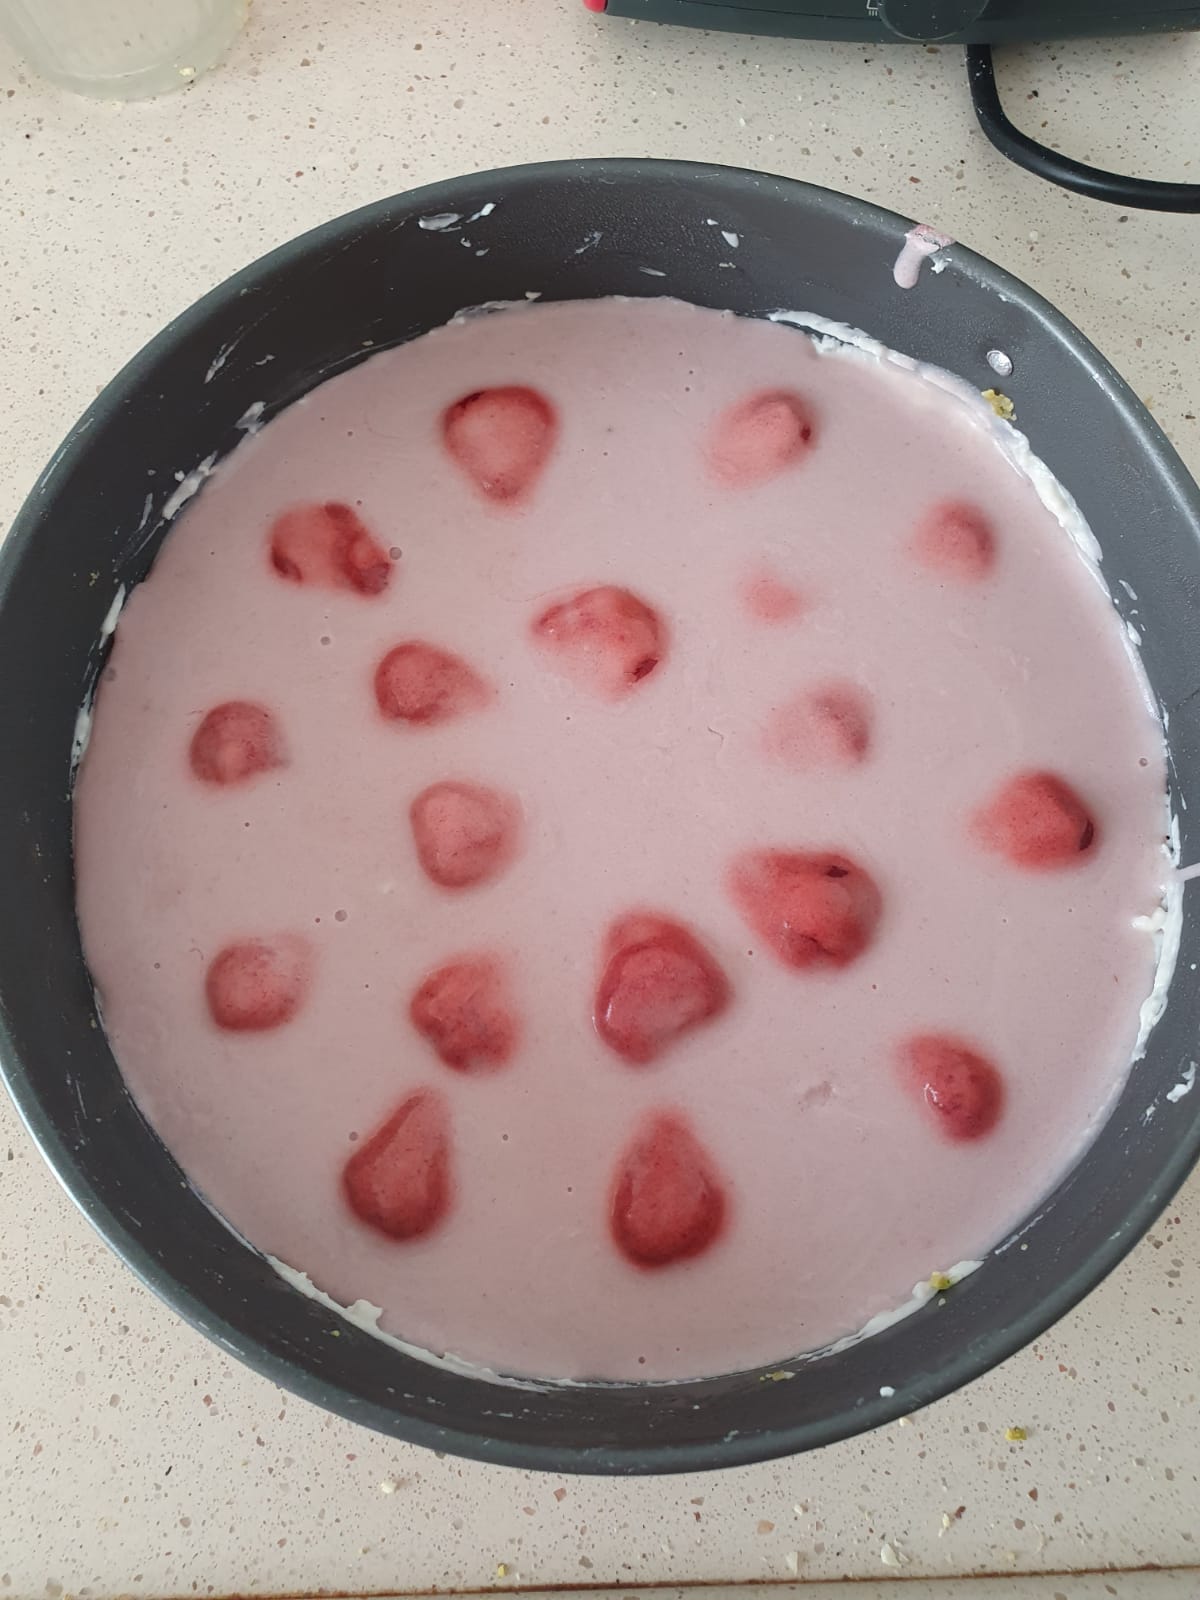
I gave the layer longer than 30min to set (better be safe than annoyed at yourself for your impatience, like my grandma always said), and I was surprised it worked! I was so ready for a fail, but look at this magic:


Crazy stuff. Onwards to layer three:

I did fudge up the chocolate layer while taking photos of the Micky hand teaspoon. The milk and cream mixture boiled! Gasp! The recipe said to avoid that, so I started fresh. It was less than a cup of milk and cream, so I preferred not to risk it.

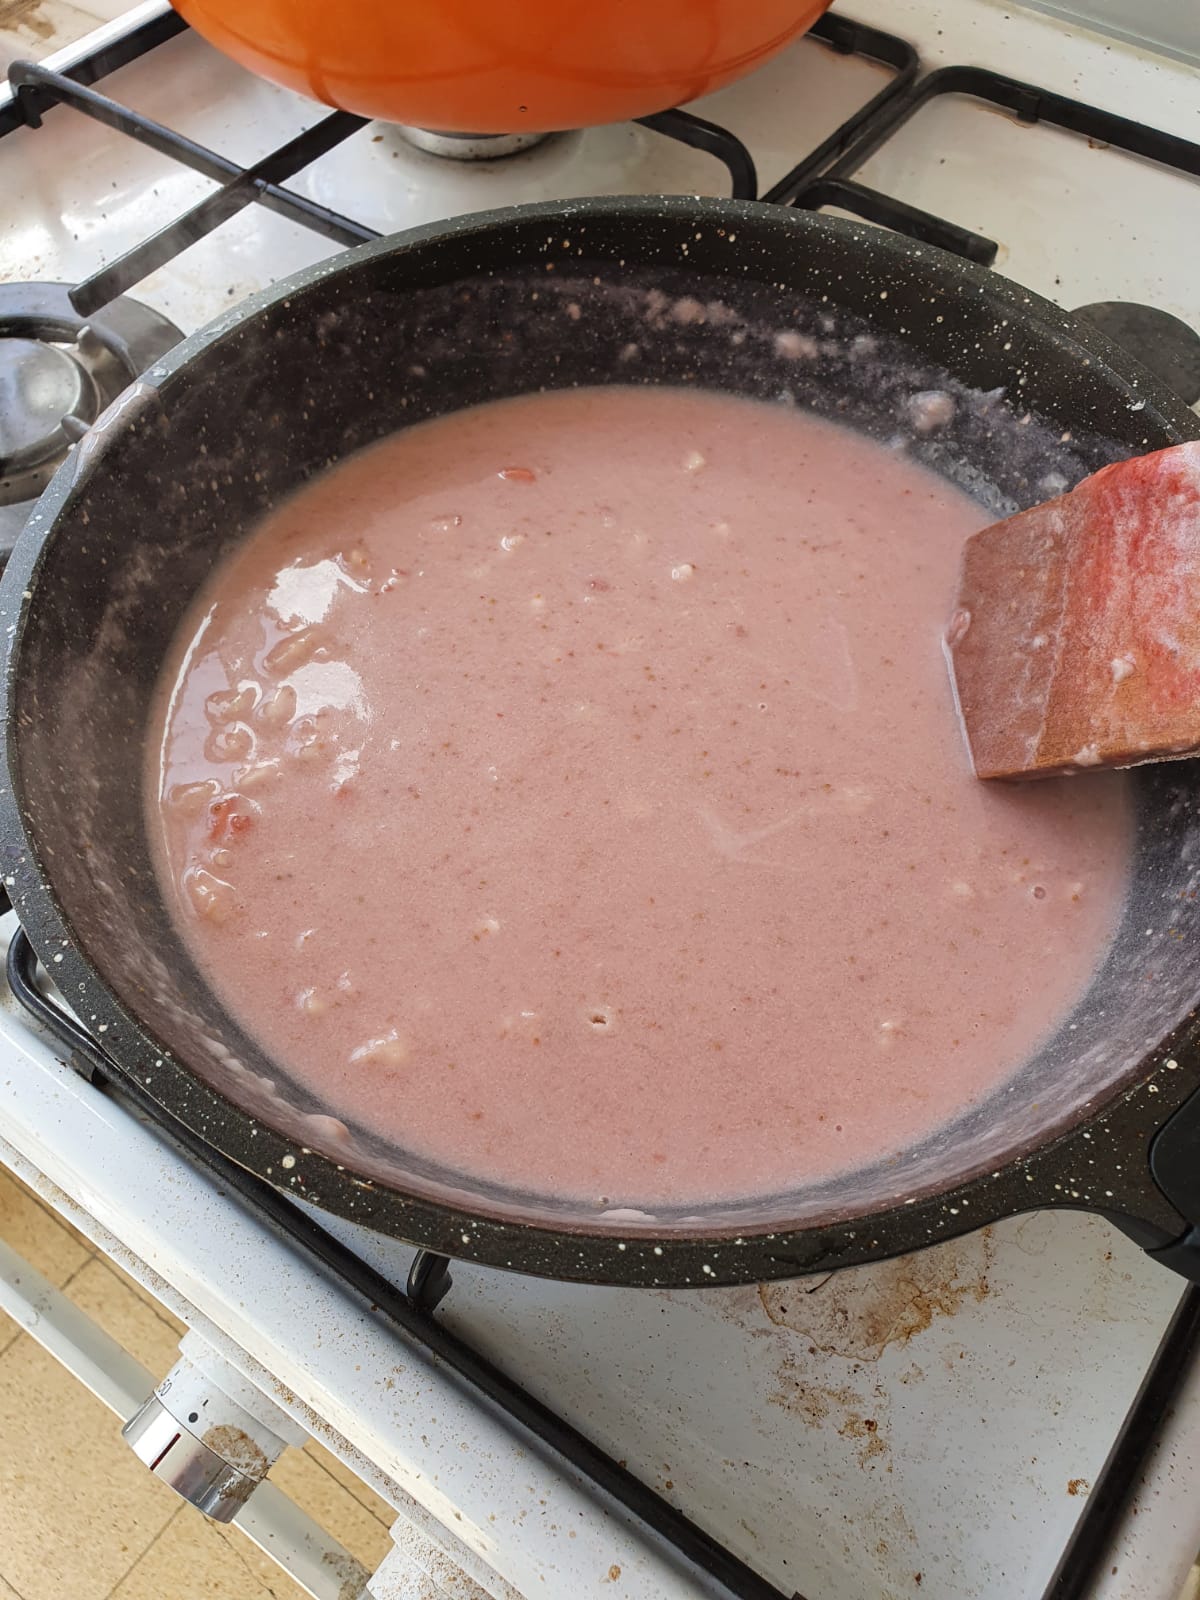
Did you know that exotic fruits don’t play well with gelatin? Well, good thing this layer is basically whipped cream and mango. Too bad, since by layer three, I was very confident of my gelatin game.
The recipe says to use one blended mango, but I decided to cheat the system with this frozen mango pulp, which actually tastes delicious also frozen.


Skipped the blending stage like a boss.

I had to make twice the amount, but that was because the angle of my diagonal layers was too sharp and created a larger gap to fill. This thing is delicious on its own and was the prime candidate for “licking the spoon”.


I was a little worried the pattern won’t show through with the textured glass, but it does! Kinda.


And now they go to sleep in the fridge for the night (mostly since it was midnight at that point and I just finished licking the mango mousse bowl clean).
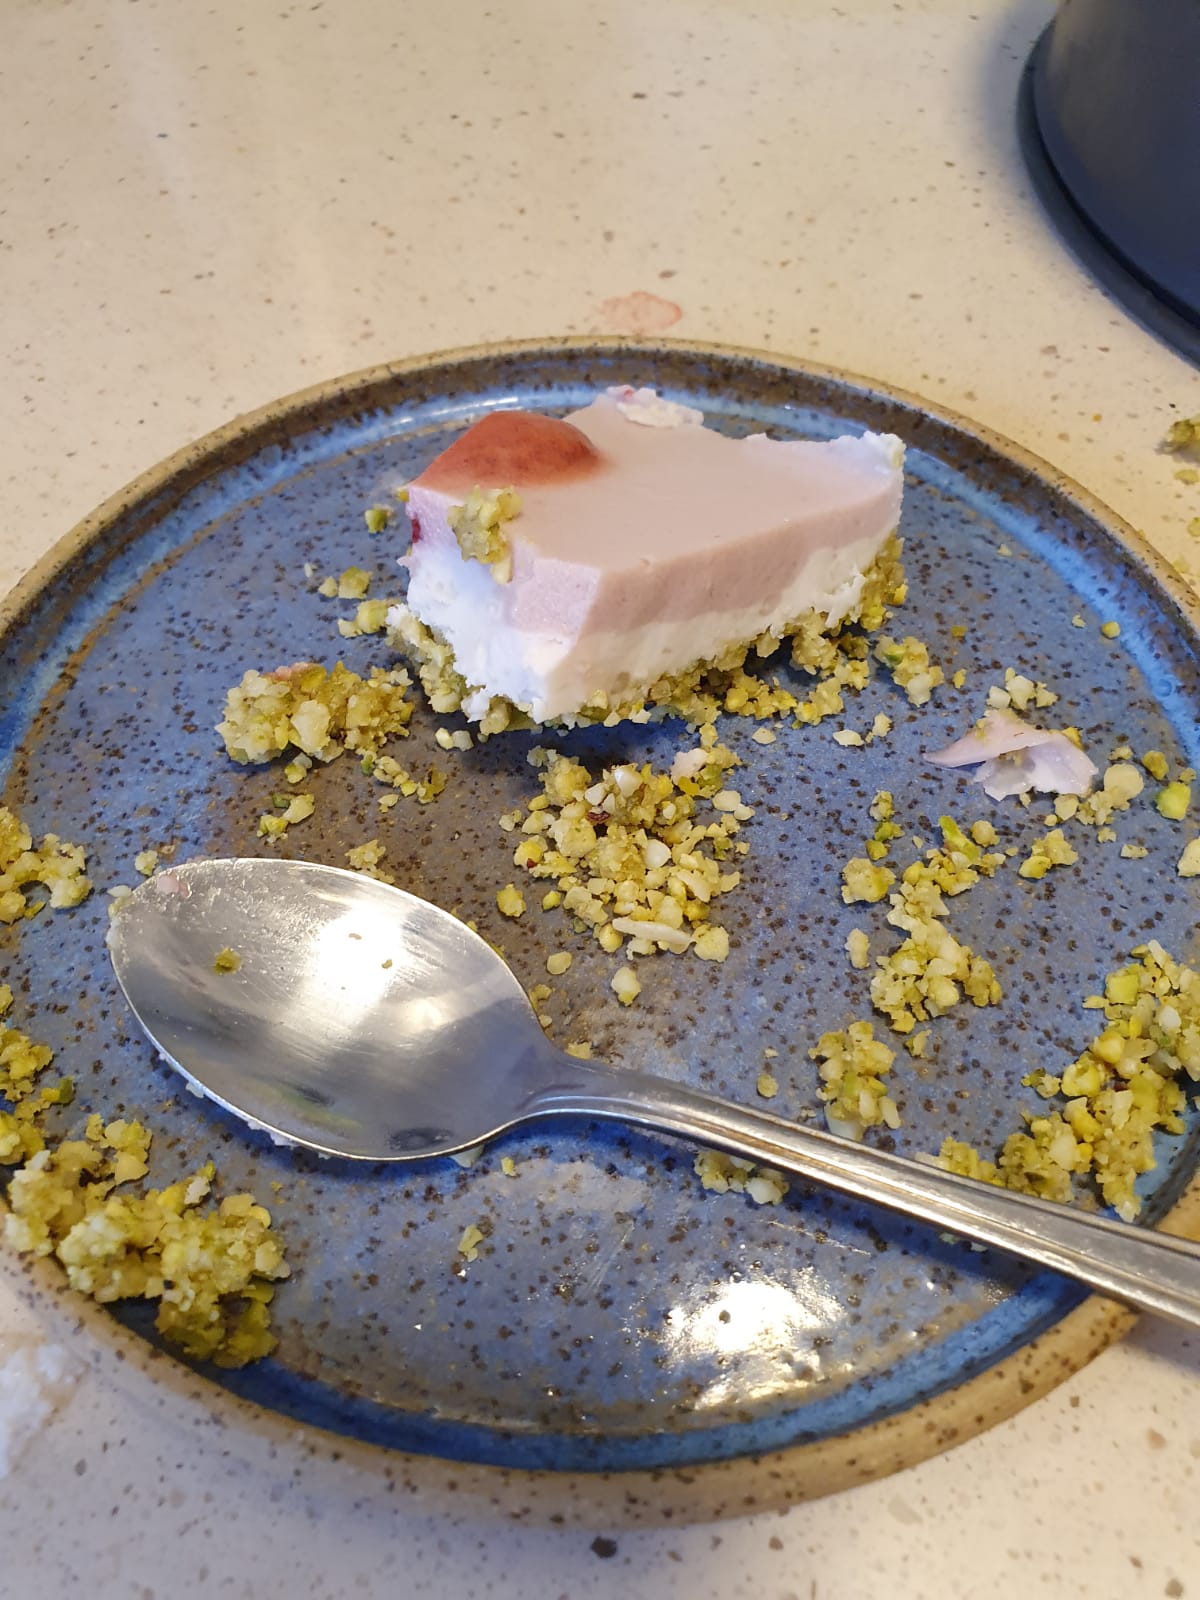
After a night in the fridge they looked ready to go!


It didn’t really need that much time in the fridge since the mousse stayed almost the same consistency and the two panna cotta layers were already set the night before. Either way, it made for a pretty good breakfast for two. This recipe is for four people and trying to consume one half of it by yourself can be a challenge.


The diagonal layers make it easy to get different combinations without having to go through all three layers. The mango flavor was a little too overpowering, and the vanilla panna cotta couldn’t stand up to it. I wonder if what it means is that I should have added more vanilla to the vanilla layer? Or maybe less mango to the mango mousse? Or maybe even replace the mango mousse with coffee mousse to better match the flavor profile?
In other baking news….
I took advantage of the work from home situation and prepped some challah bread dough during lunch. I decided that instead of planning how many strands I want, I’m going to let the number of balls I cut out make define that.
And I got 7!

I’ve never made a seven strands challah, but this video explains it very well (and with a very calming voice, which you need when you’re handling strands of dough).

I used this recipe but with some alterations.
Last time I tried it, I ended up with a dry ball of dough that I kept adding liquids to and kneading for 40 minutes. So this time, I halved the dry ingredients, left the same amount of liquids, added dry garlic powder, tablespoon of garlic paste, and rosemary.
I ended up with a very oily dough that’s flexible and fun to work with and that only needed a 10min knead. The end result was still very oily, similar to focaccia, but also soft and delicious. And it pulls apart just like challah is supposed to.